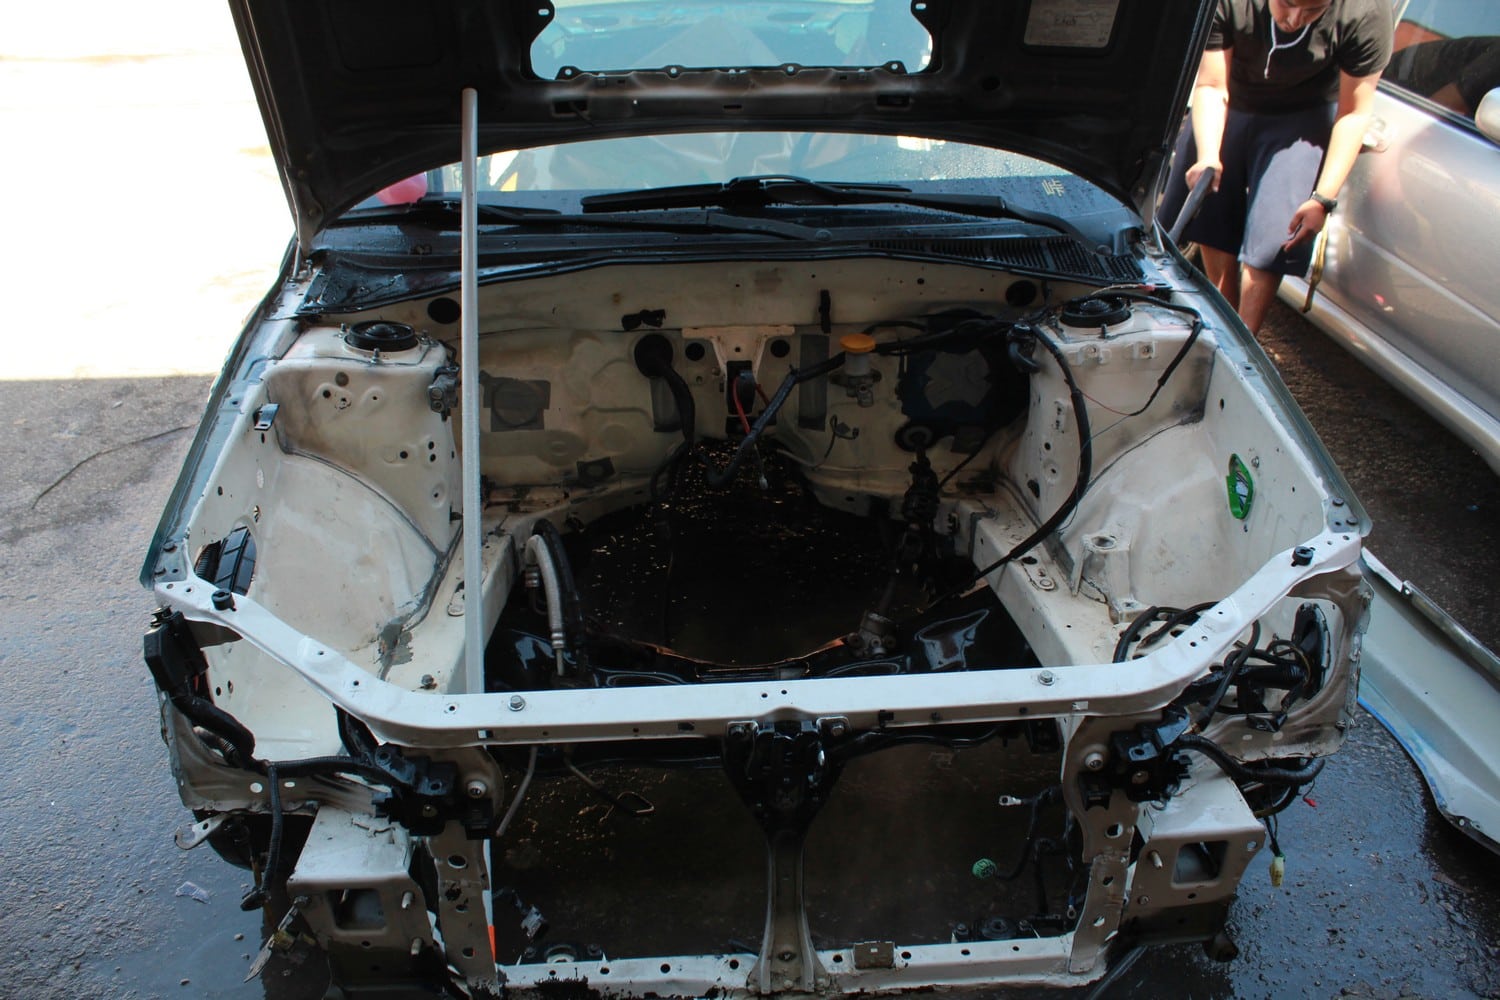
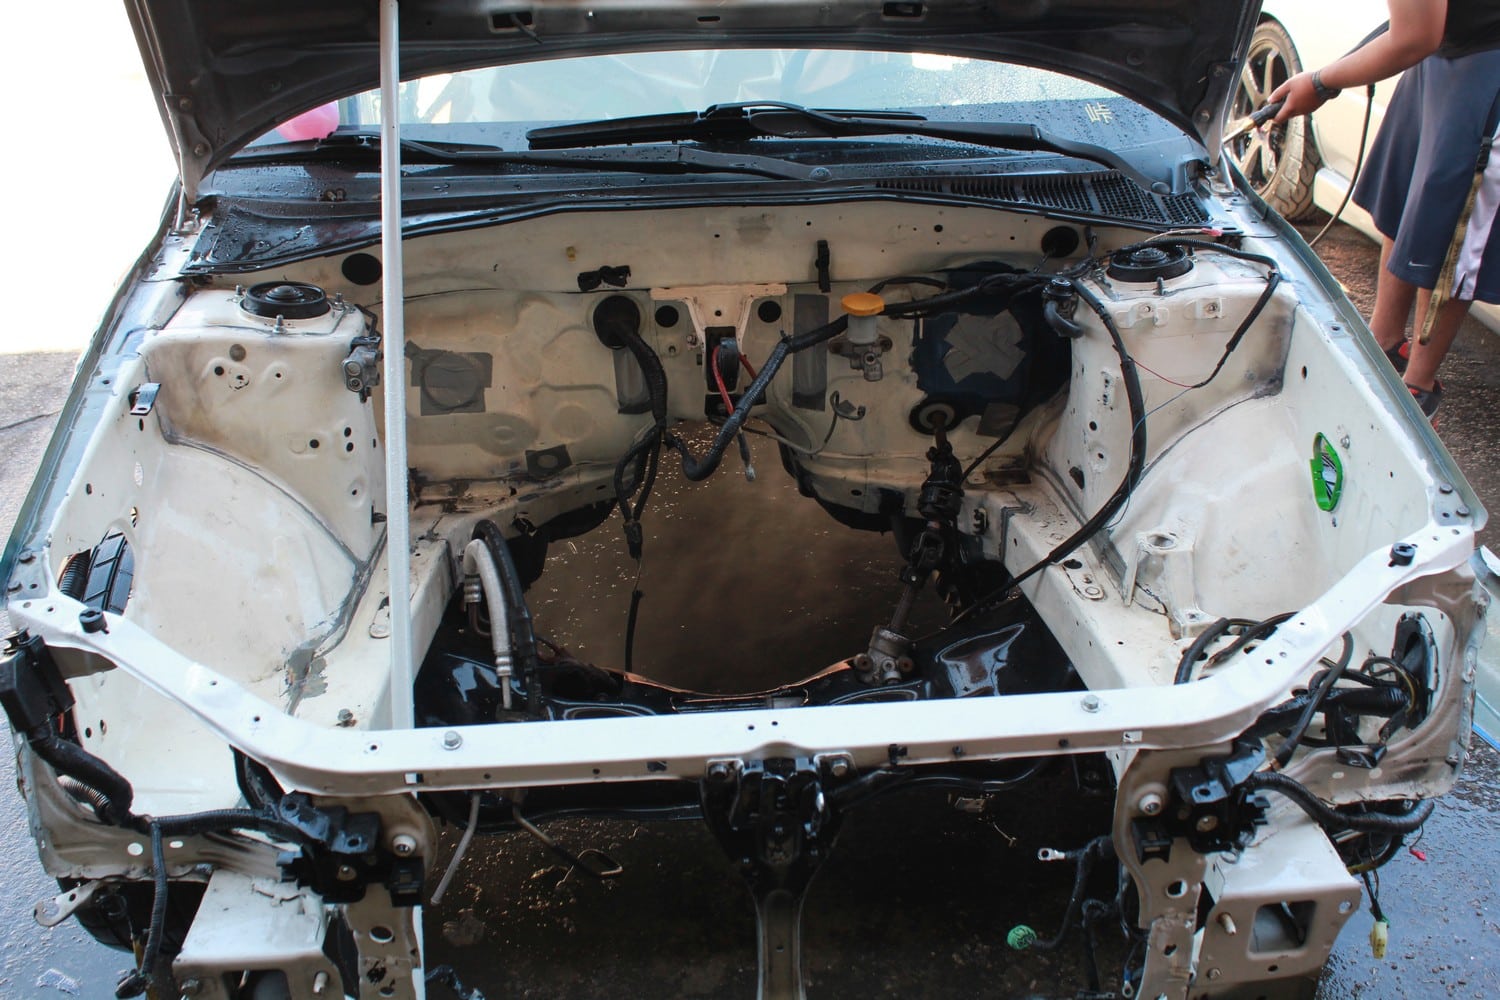
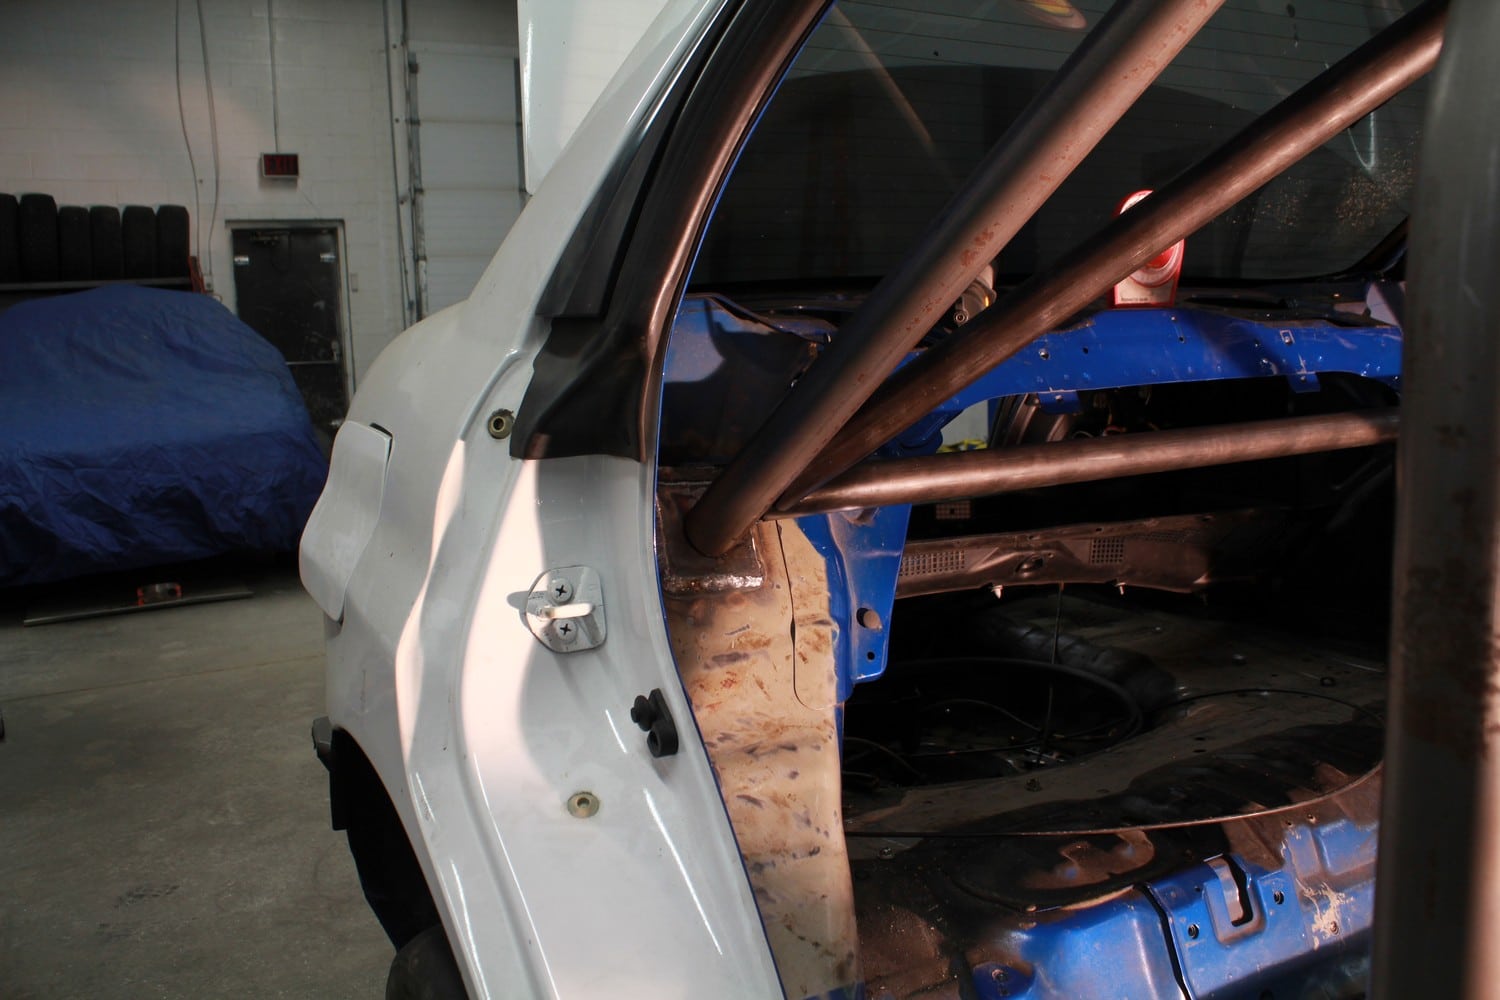
With the inside of the car torn down now is where the build up will begin. The first step for this was safety in the form of a full roll cage. While the rules for Time Attack can be pretty relaxed we chose to have the cage overbuilt as the added weight penalty is more then acceptable for the additional safety. Roll Cages are one thing where there’s a lot of different ways people like to do them and finding someone you trust and has experience doing this is important. It’s also something that is very hard to find someone reliable to do the cage for you. There’s quite a few really good cage builders located far outside of the GTA but this was not convenient for us and also would not allow us to document the fabrication process. Luckily for us Ryan opened up Rally/Race Development about 2 blocks away from our shop and also happened to be good friends with Richard Nadeau who we helped out a few years ago when he won the UAWD title himself. Before taking the car over we took some time to pressure wash the wheel wells, engine bay and the rest of the exterior just to clean it up a little further.

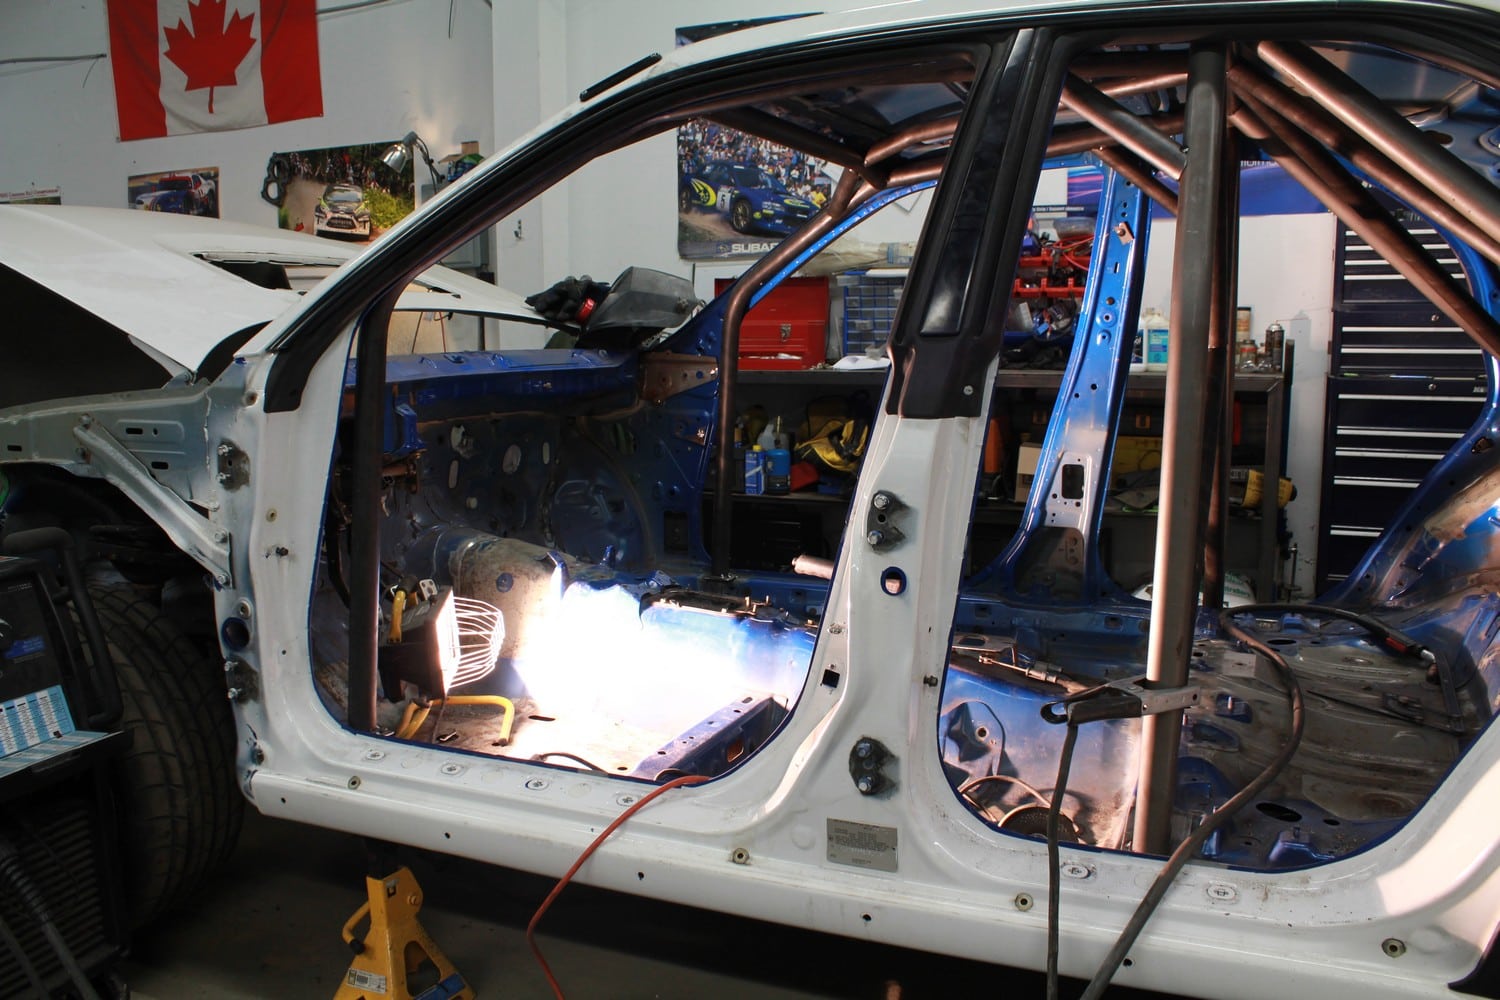
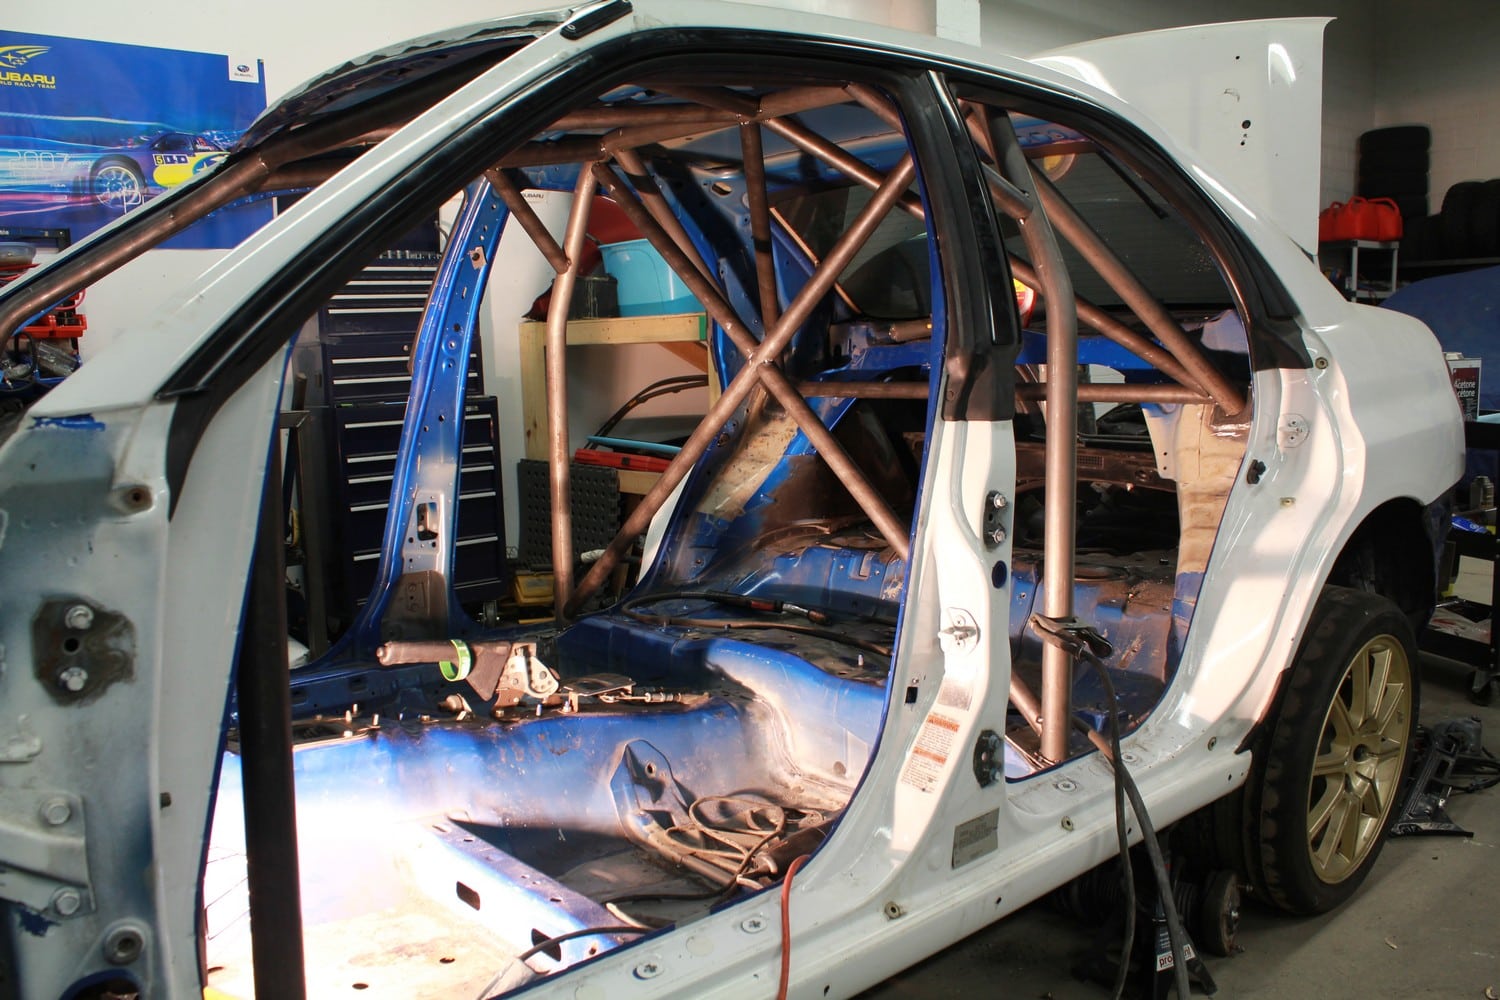
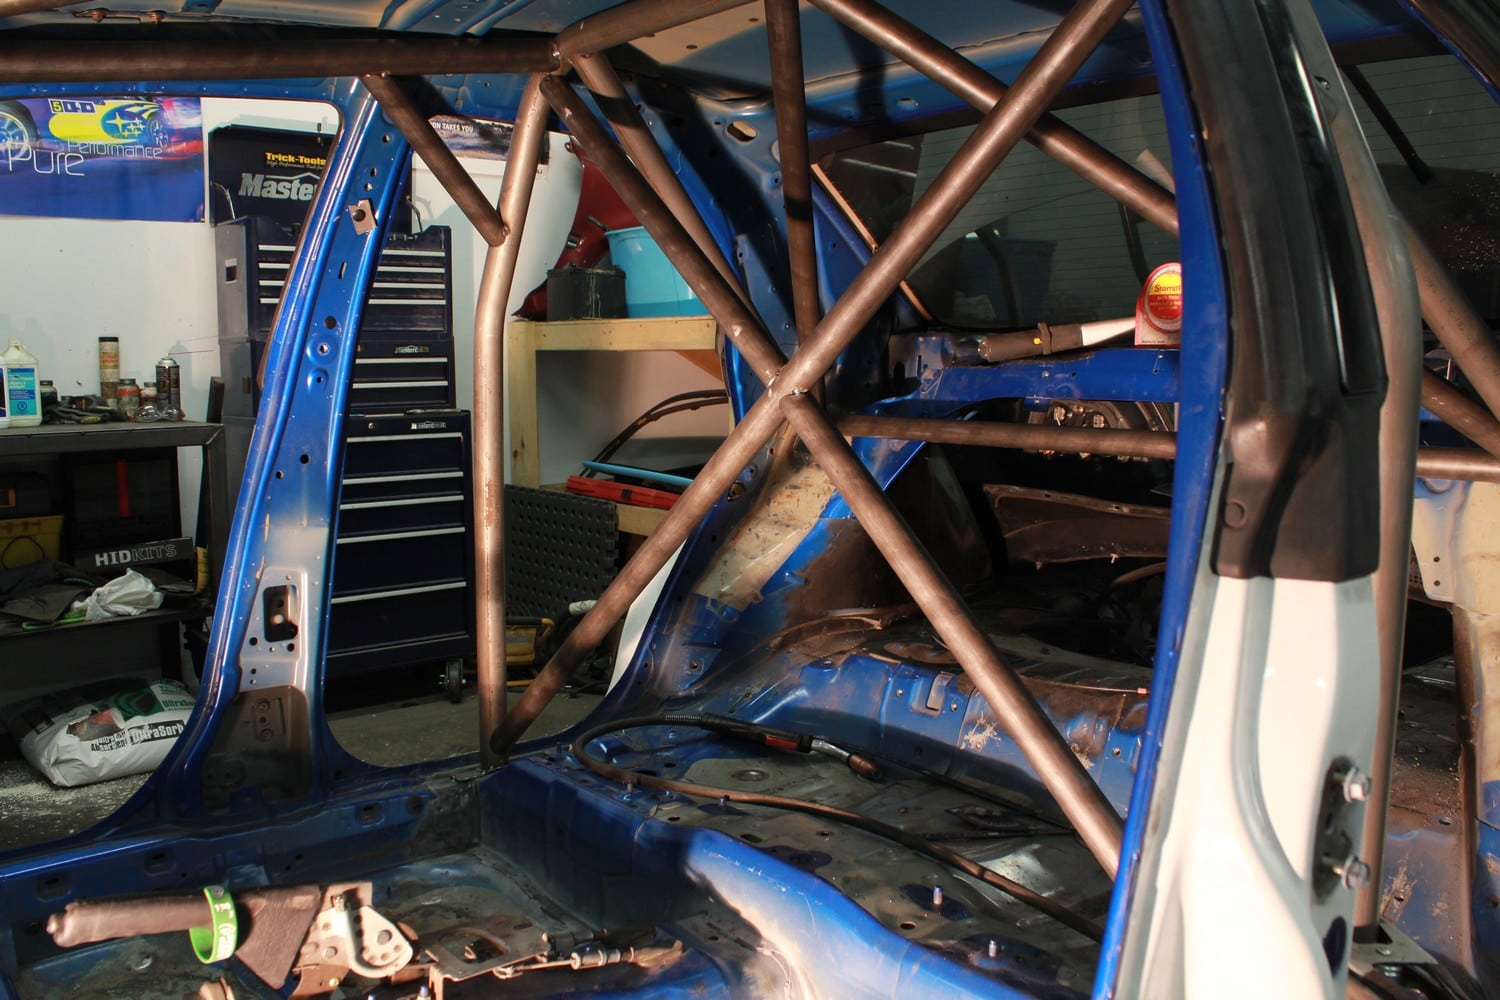
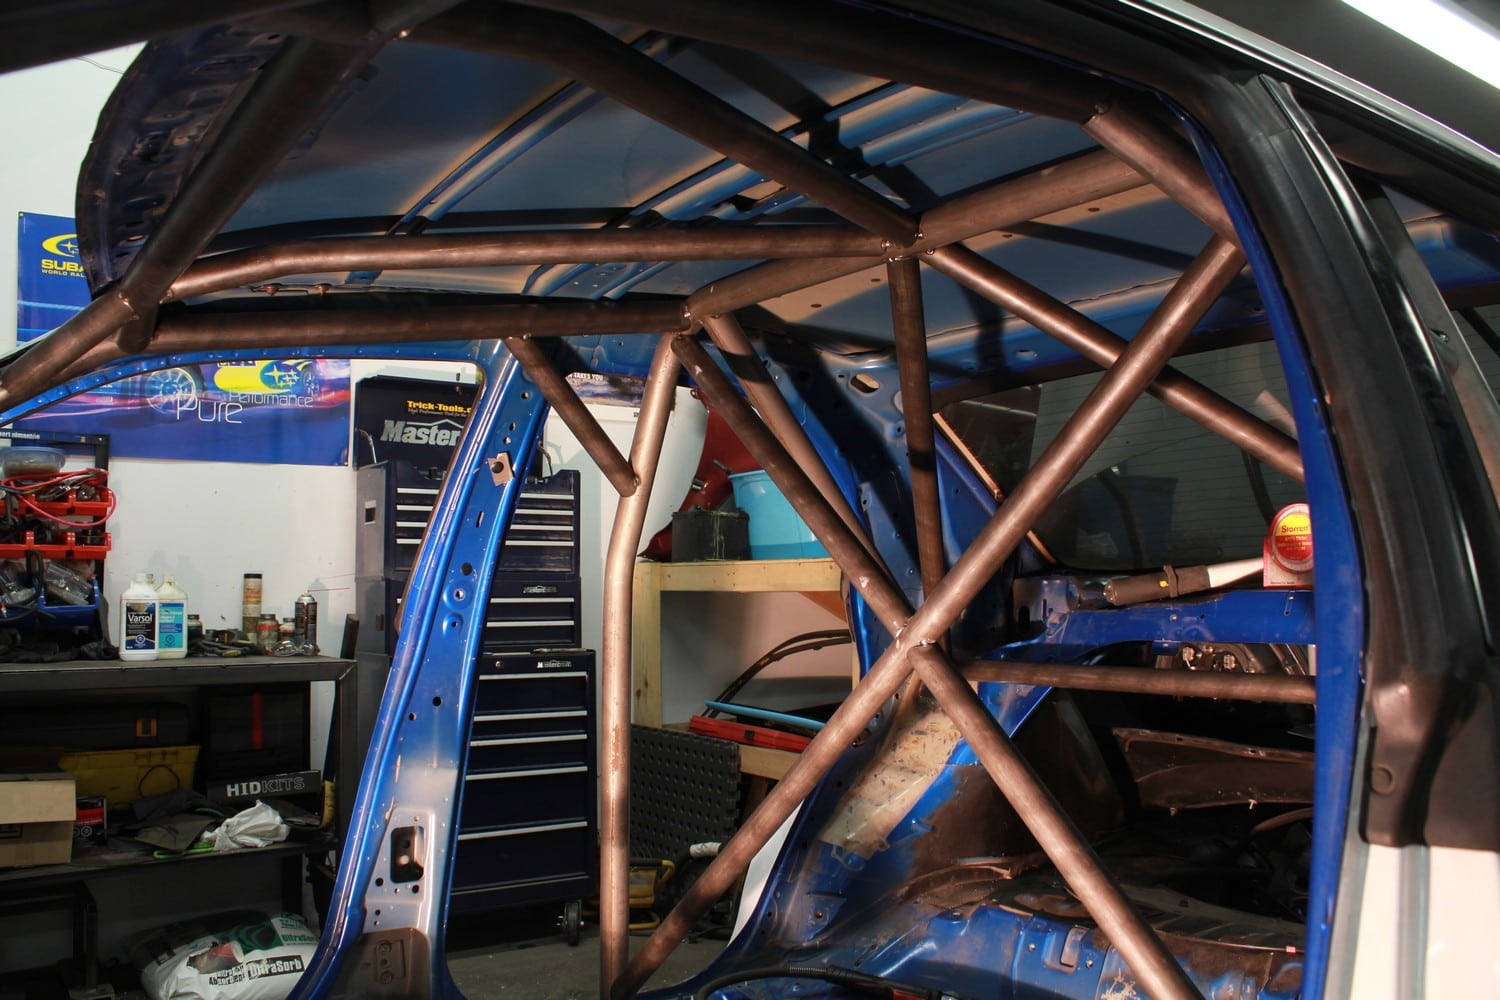
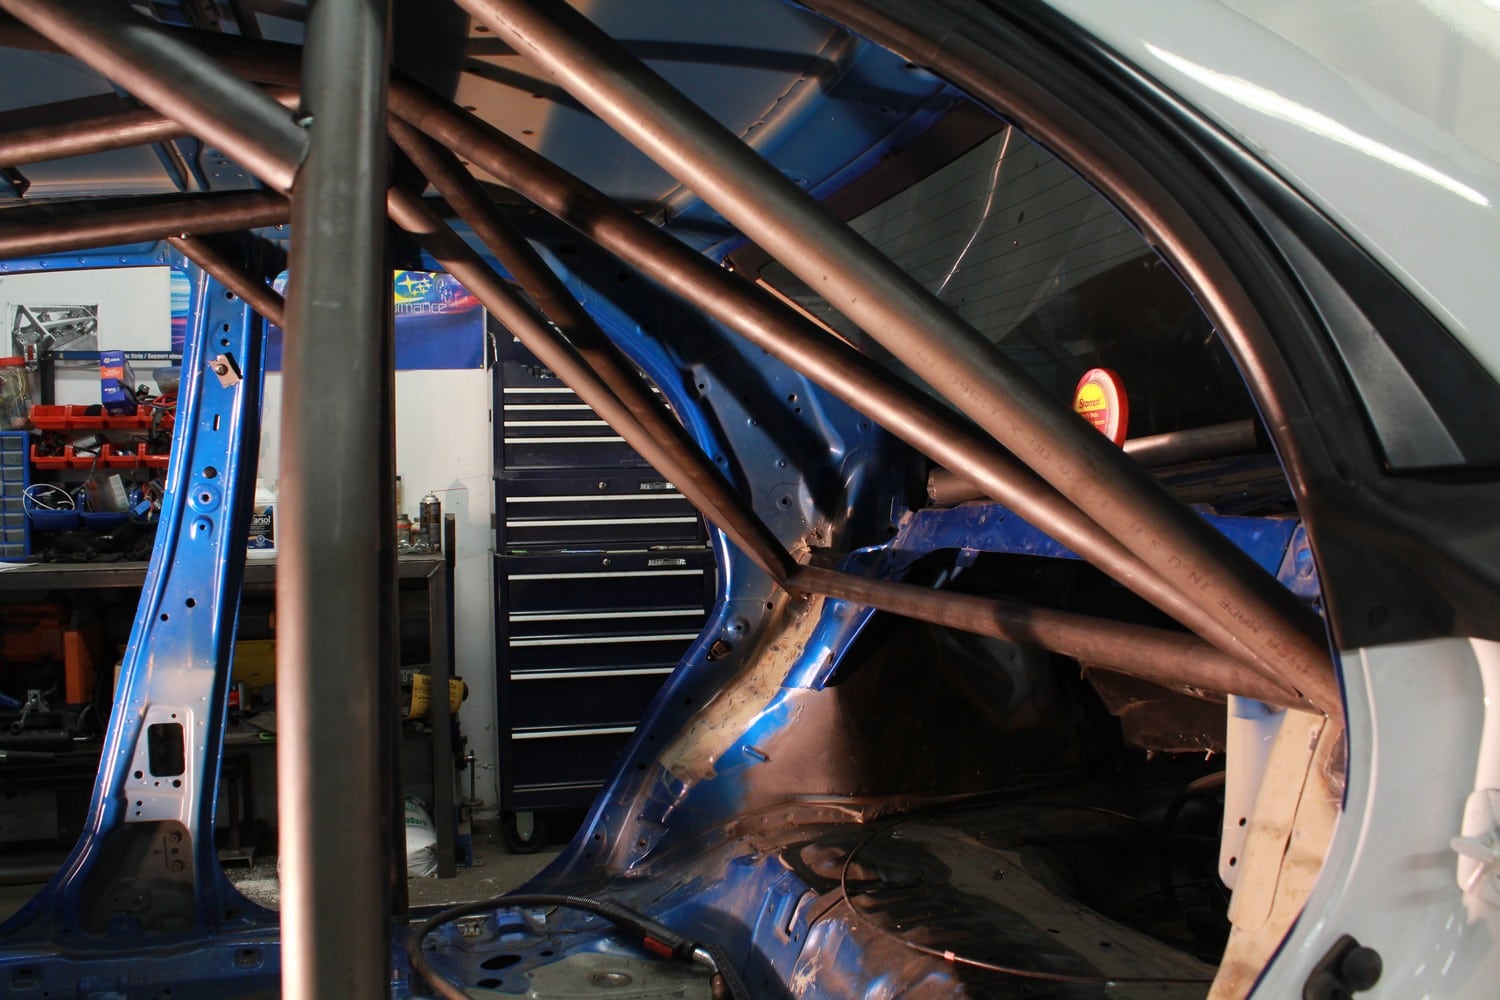
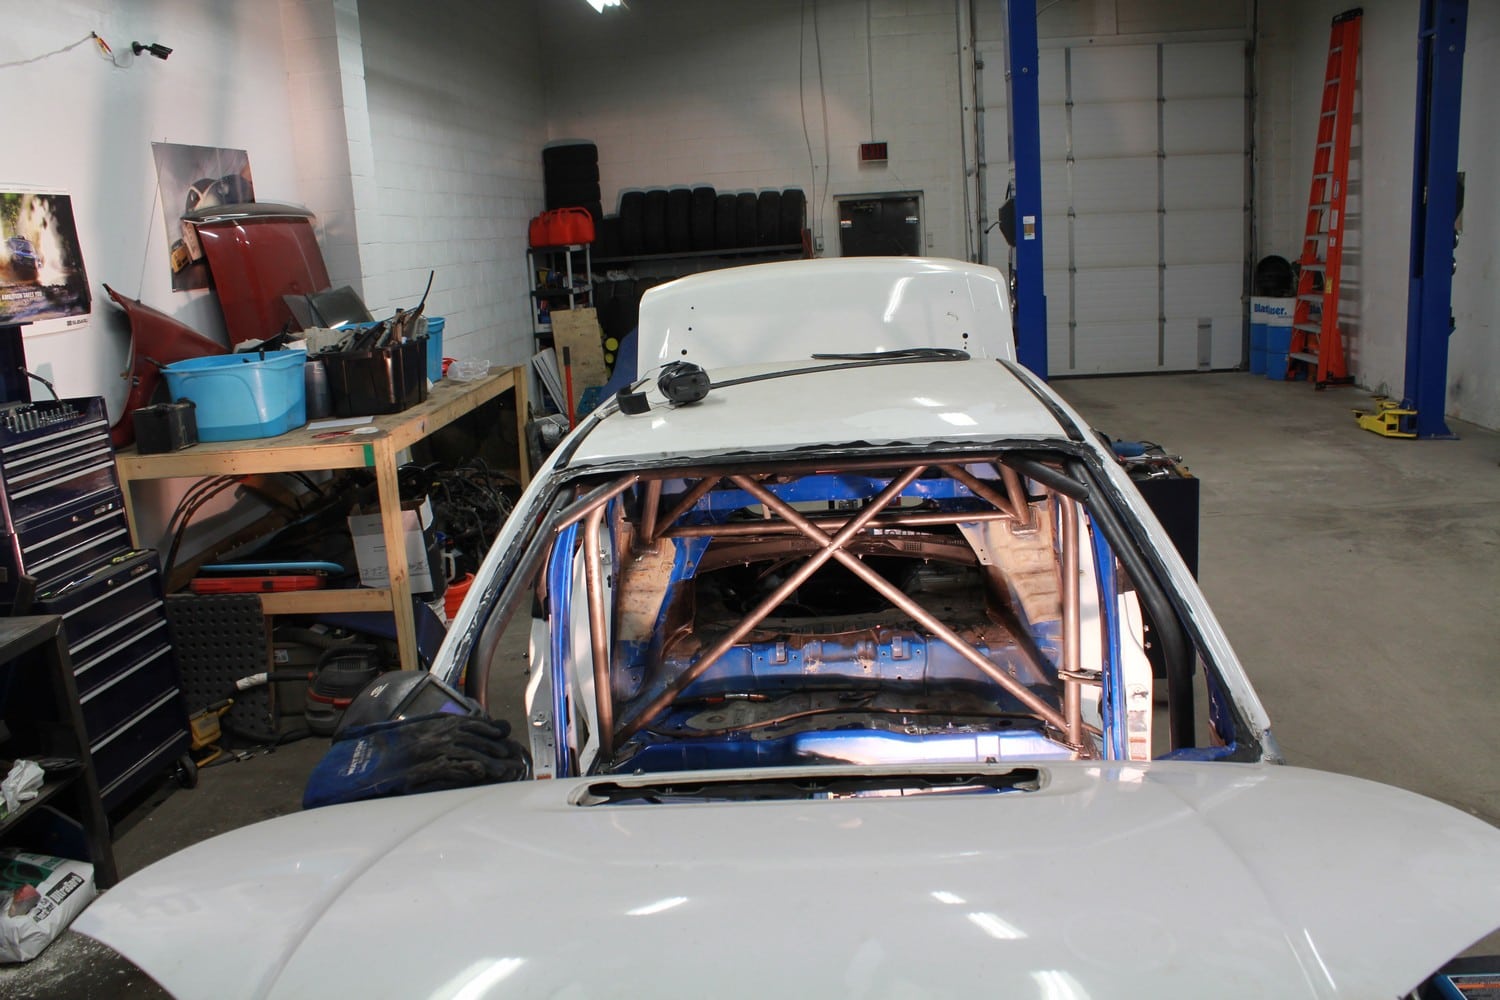
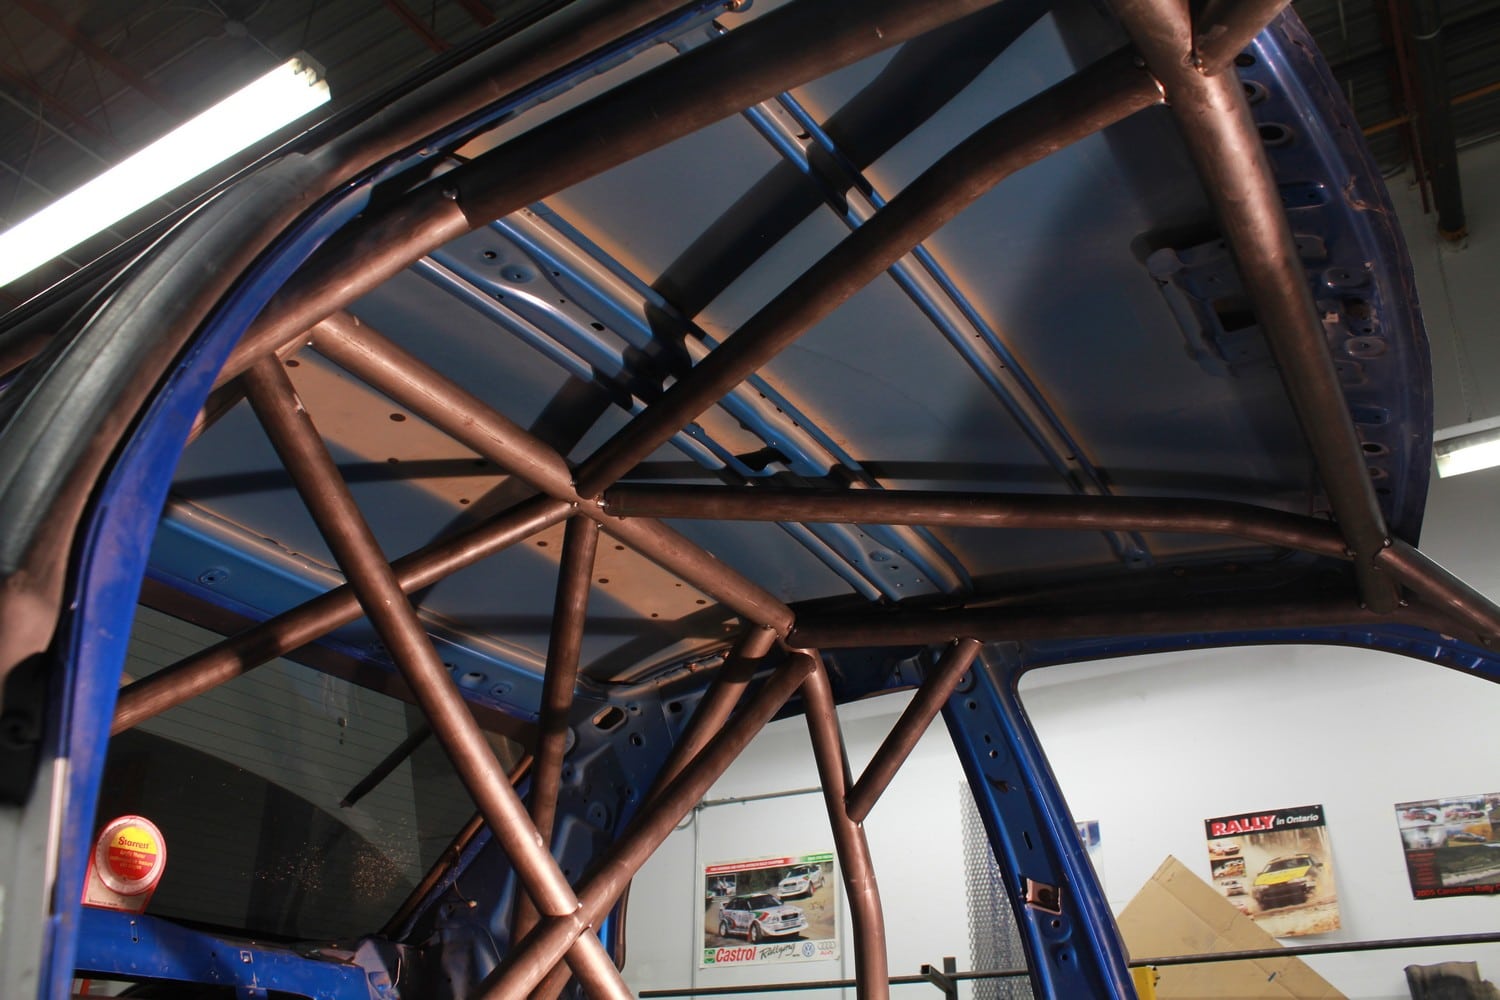
I discussed with Ryan in length what my goals were for the car, what kind of cage I wanted and also asked for his advice based on his expertise. Ryan suggested for the most part following the FIA rules for the cage as it would not only provide me the safety I wanted but also allow the car to be used in other disciplines should I need to sell the car or change it up. Although using Chromoly would be nice for the weight benefits it is not very common for cages as it is cost prohibitive and there’s a lot of care needed when doing the welding and fabrication. We chose to stick with DOM tubing for it’s lower cost while providing great strength. We also had Ryan do a ton of stitch welding on the seams to provide added strength and rigidity to the chassis before the cage started to be installed. Before this got started the fuel lines, brake lines and front glass needed to be removed so that was accomplished and the car was put on jack stands so Ryan could begin to get to work on it. With the stitch welding complete Ryan went to work on mocking up the cage starting with the main structure and working outwards. It was great to see the progress of the cage during different visits over the time and it was great to work with Ryan and discuss any changes or modifications needed as the cage was built. Having the ability to go see the car any time was a huge plus. A good cage design allows the force of an accident to be transfered through the cage around you without the cage having points it can buckle. It would be a bad idea for example to have a tube going into the center of the main hoop leg with no support on the other side. In an accident the load would transfer into that leg with no support on the other side and it would likely buckle. You’ll also notice a lot of triangles in the cage as this tends to provide strength by design.

————————–THE MOD LIST————————-
Interior
- Removed Full Interior, Sound Deadening, HVAC System
Safety
- Stitch/Seam Welded Chassis
————————–Sponsors & Supporters————————-
Rally/Race Developments – Seam Welding & Cage Fabrication
