Throughout the upgrade process of the 2015 WRX I have repeatedly said that the brakes are one of the weakest points of the whole car and are holding back lap times. The goal has always been to install a set of big brakes, whether it be an OEM swap from an STi or aftermarket. While putting on STi calipers and rotors would work well, they also can be very restrictive when it comes to wheel fitment options. I also wanted to take advantage of the weight savings offered by an aftermarket Big Brake Kit such as the ones offered by StopTech. After waiting for a release by StopTech for their 2015 WRX kits I ended up deciding that the front kit was not what I wanted. Already having 3 sets of 17″ wheels that will see time on the car I was not prepared to upgrade all of the wheels to 18″ to fit the 355x32mm kit they released. After some talking with StopTech and using their awesome templates I was able to determine that one of the 332x32mm kits for the GD STi would work well for my needs. The only extra piece needed was the braided brake line kit for the 2015+ WRX since the ones included would not work perfectly.
The biggest issues surrounding the stock 2015+ WRX brakes for me were the inconsistency in pedal feel, the squishy feeling that sliding calipers have and the inability to do more then a lap and a half before the braking performance significantly would drop off at the pace I was running at. For those who are doing casual lapping the stock brakes are actually pretty decent in size and function. As with the premise of this project I have taken a calculated process of upgrading the car only after getting myself close to using the full potential that the car had in it’s current state. While i’m sure there’s a few tenths left in the car I have had many good drivers ride shotgun and drive the car and all have stated they felt I was extracting almost the full potential of the car as it sat. This isn’t me trying to wave my own flag but wanting to make it clear that I am trying to make changes that can be substantiated by hard evidence and aren’t skewed based on just having more seat time in the car that coincides with the installation of new parts.
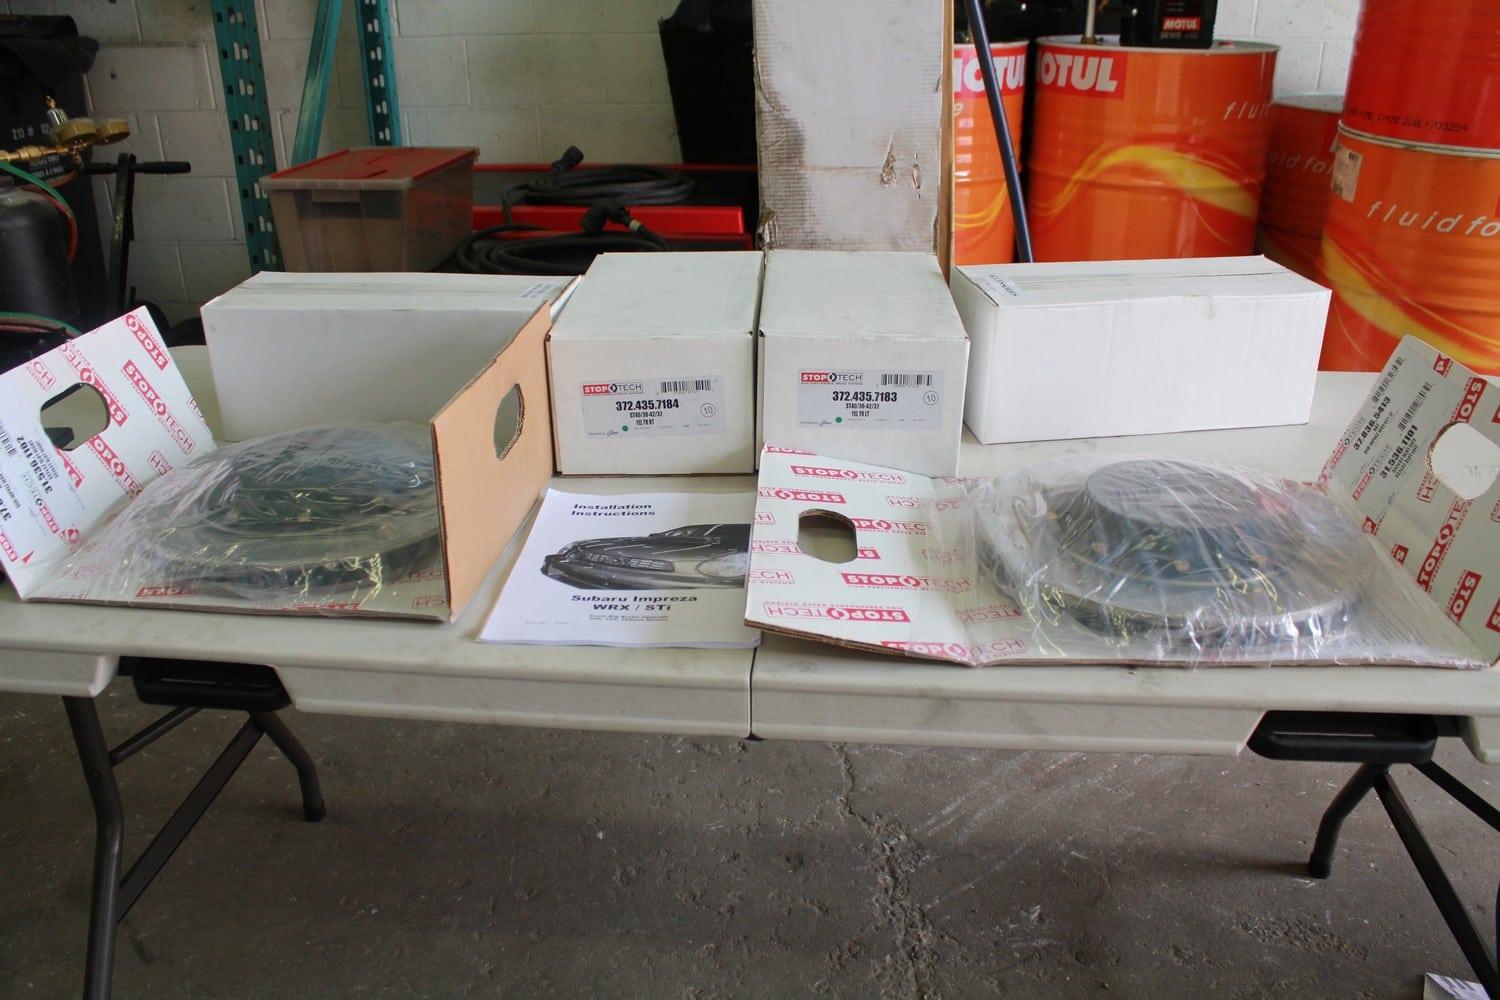
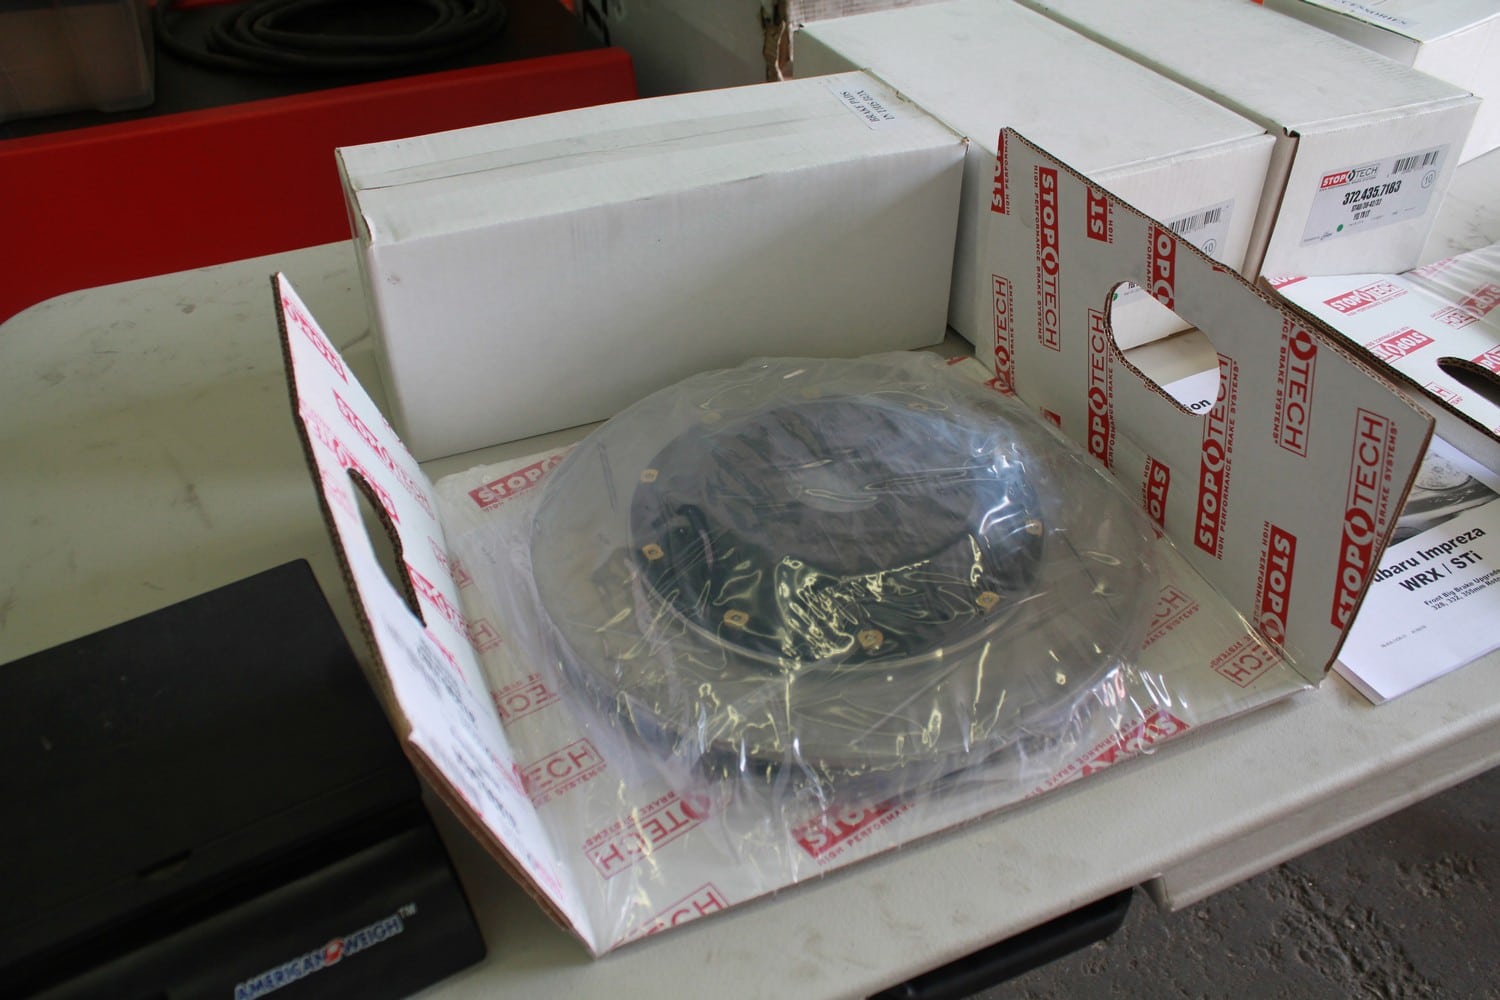
We ordered the brakes and in just over 2 weeks had them in hand and ready to install. This luckily gave us time to install these before the Fourth Round of CSCS at Shannonville Motorsports Park on August 30th. Everything you need comes in 2 boxes and is all nicely packaged and sealed so there’s no guesswork of where things go. The included instructions were for the GD STi but all we really needed was the torque specs for the hardware as the rest of the process was something we had been through many times before. Here you see the rotors are individually packed and sealed, each caliper comes in it’s own smaller box packed securely in foam.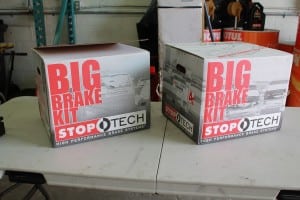
So I’ll start first by outlining the disassembly process of the stock brakes and then we’ll move on to the components and installation. Starting off we have the factory wheels still mounted up on the car showing how it looks and fits together. It leaves a little to be desired in the looks factory but the size is at least decent.
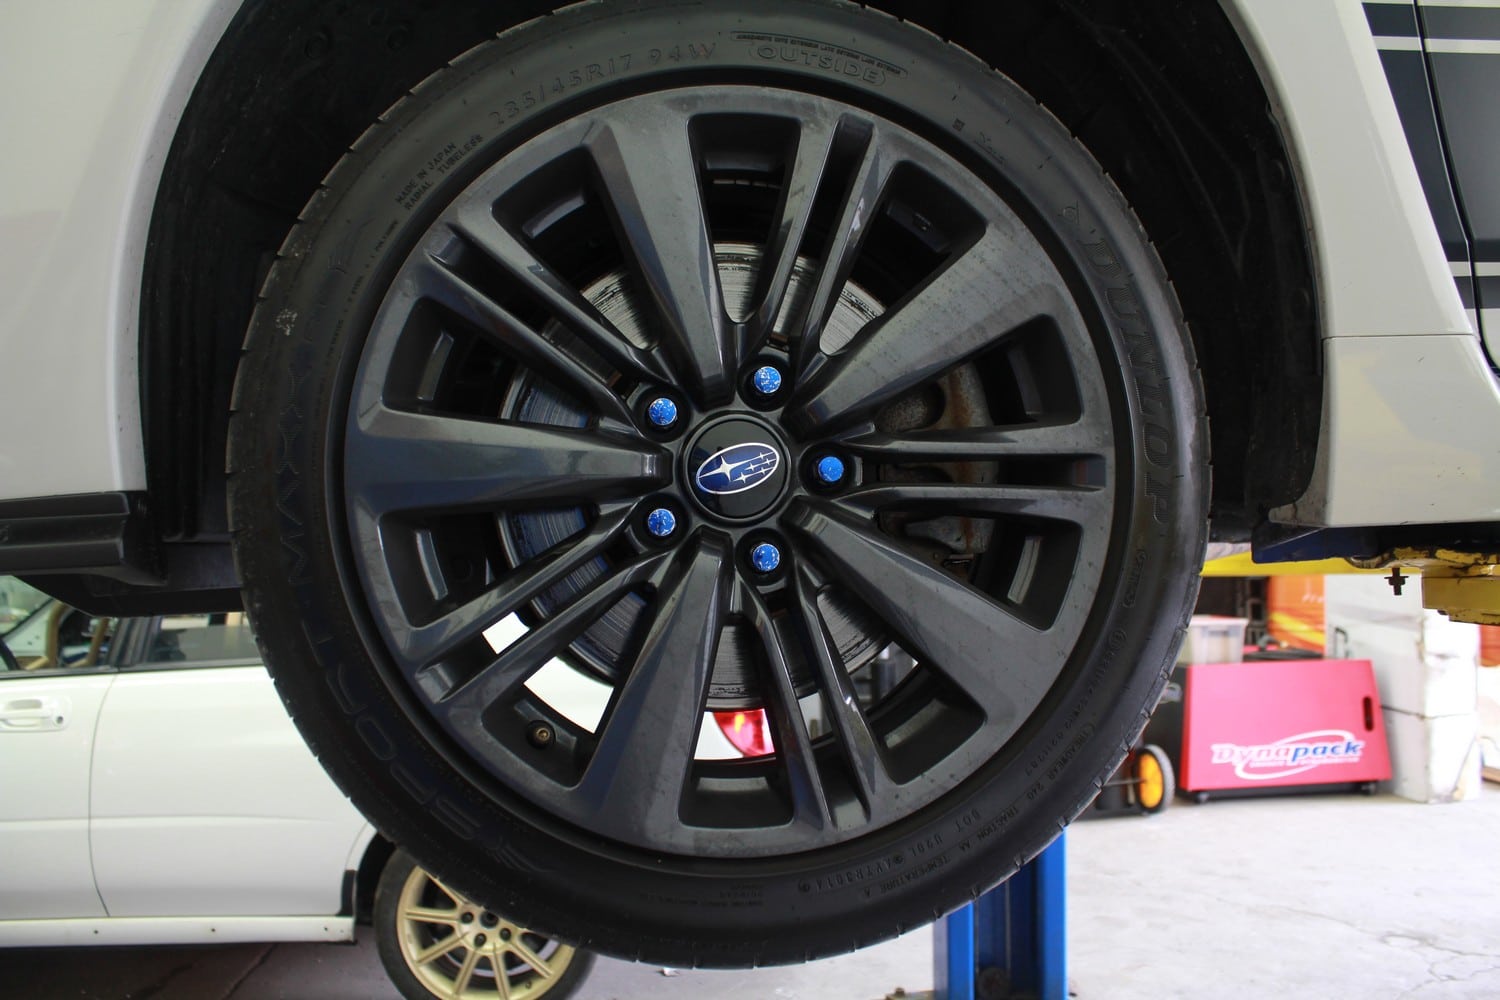
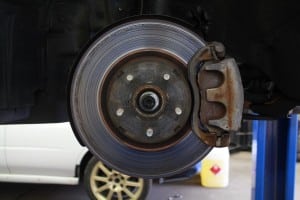
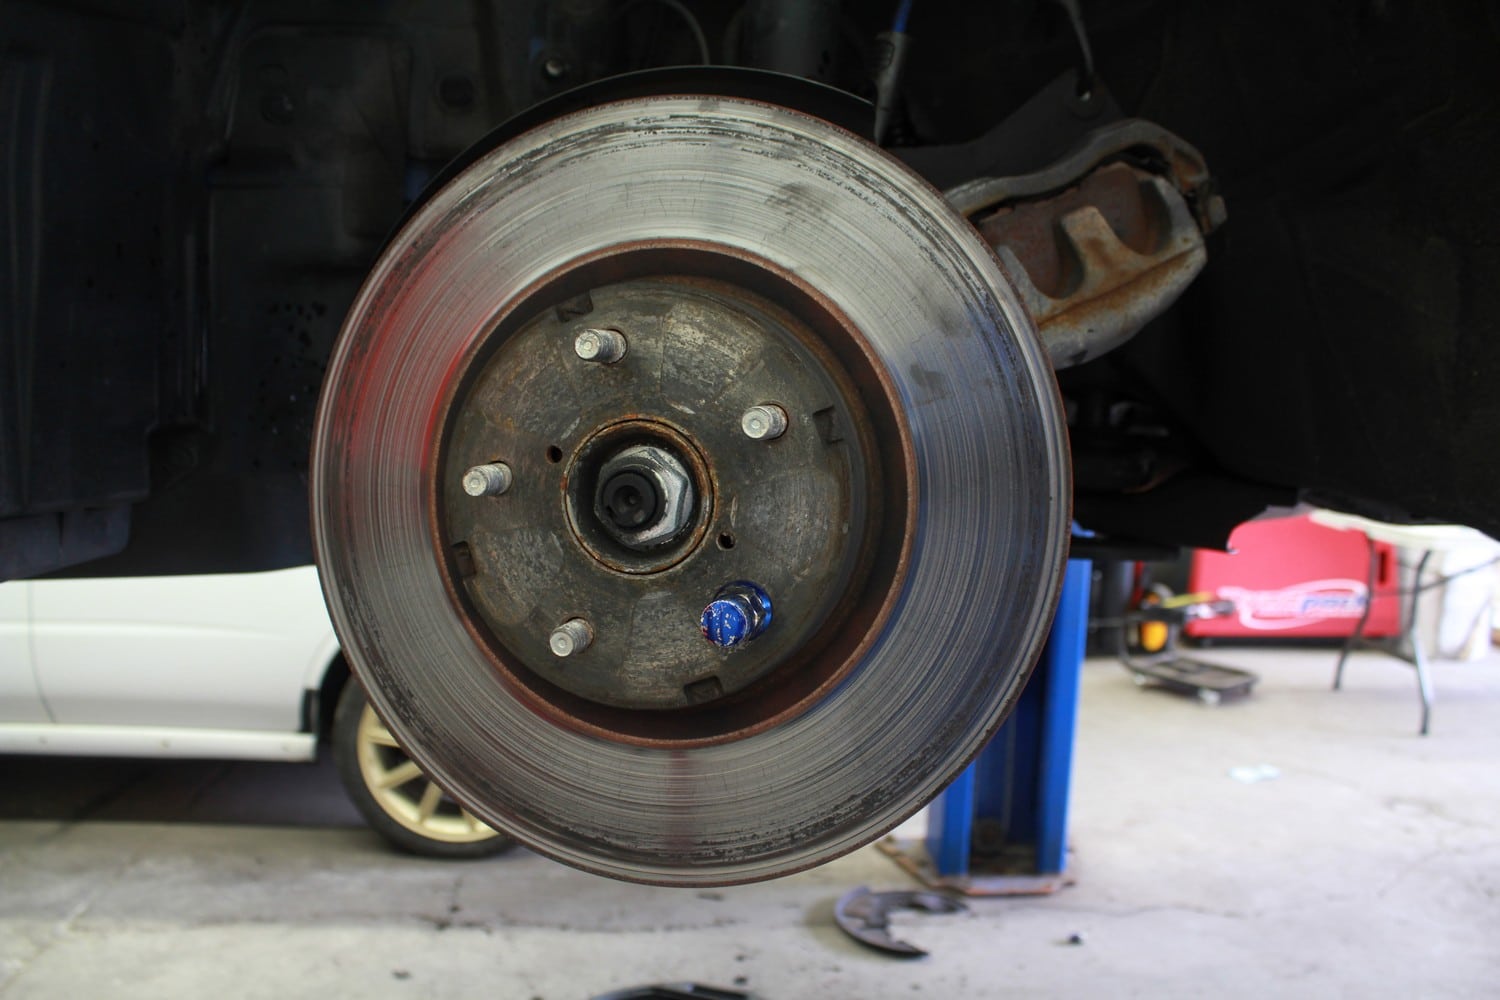
Start by loosening and removing the 5 lugs/locks and remove the wheel from the hub. With the wheel removed you can see the very worn and grooved factory rotors which have seen better days and at this point would need to be turned on a brake lathe to be re-installed on the car. We also have the factory caliper in place which will be the first to be removed. You can do this in 2 stages by removing the actual caliper from the bracket or you can just undo the 2 bolts holding the bracket to the knuckle and remove the whole assembly in one shot. Make sure to hang the caliper off of the springs so as not to put any stress on the brake line. A bungy cord works well for this looped around the upper part of the springs. It also is useful to install a single lug nut to hold the rotor in place while removing the caliper from the rotor.
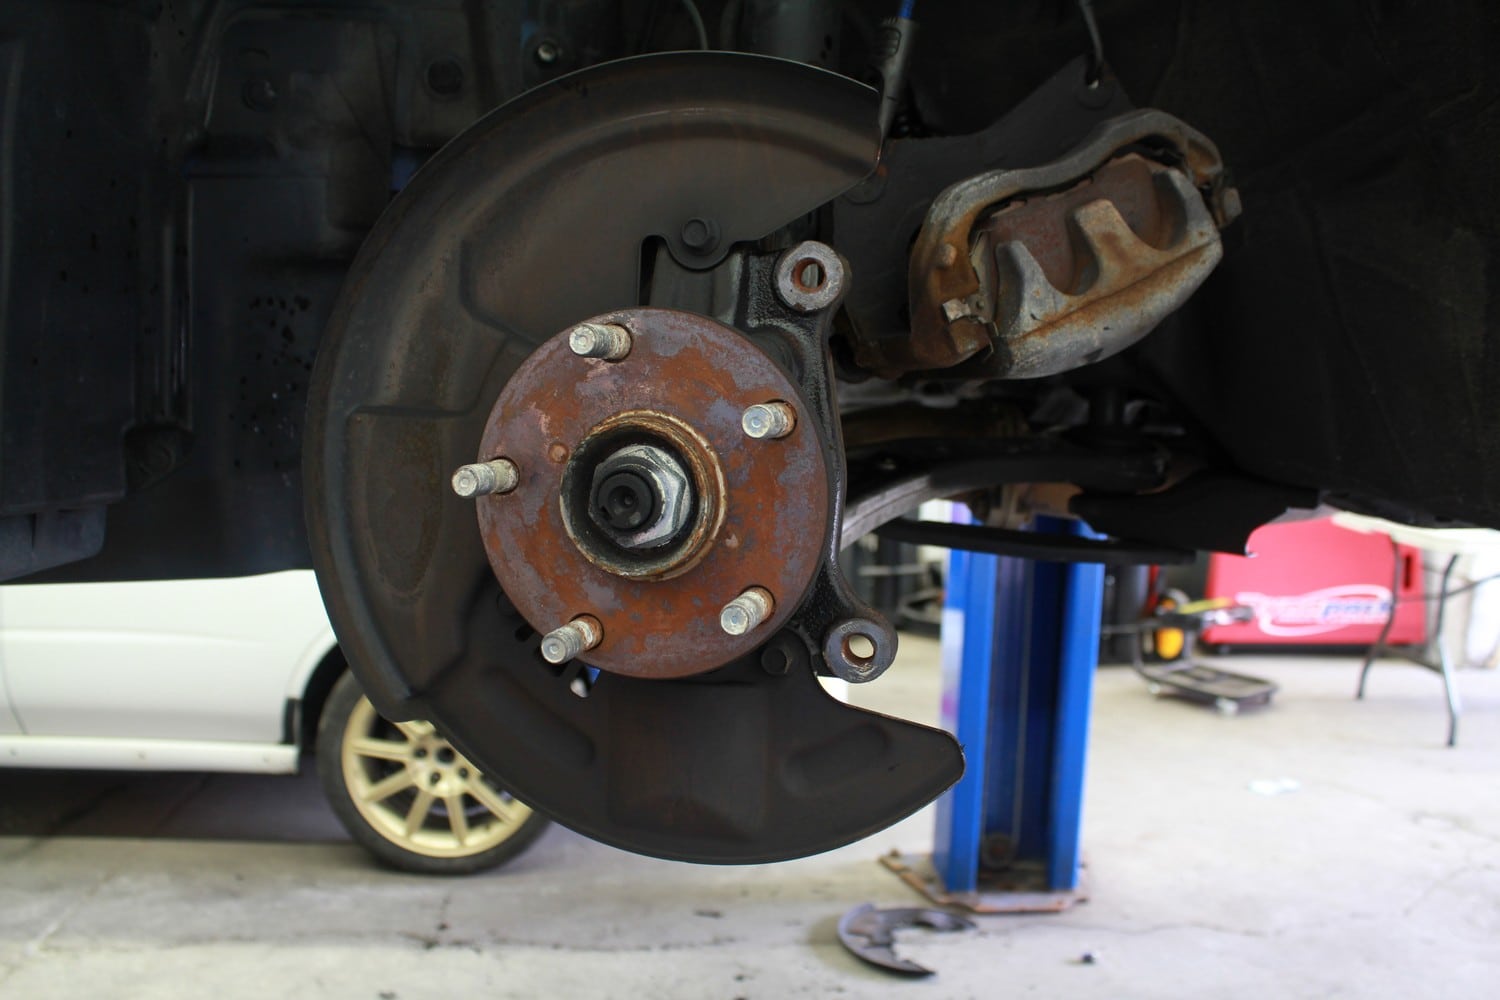
With the caliper removed you can now remove the rotor from the hub. In our case this was simple but on older cars you may have to hit the rotor with a mallet to loosen it up or use 2 bolts in the holes on the rotor face to walk it off if it’s really stuck. With the rotor removed you can see the factory brake disc shield which is used to keep debris from getting lodged between the rotor and caliper/pad. In my case I wanted to remove these as they also have a tendency to trap heat inside the rotor and not allow it to cool it’s best. This is a simple process by removing 3 bolts and the cover comes off. Depending on the kit being installed you may have to trim the cover if you want to leave it in place but removal was the choice for us.
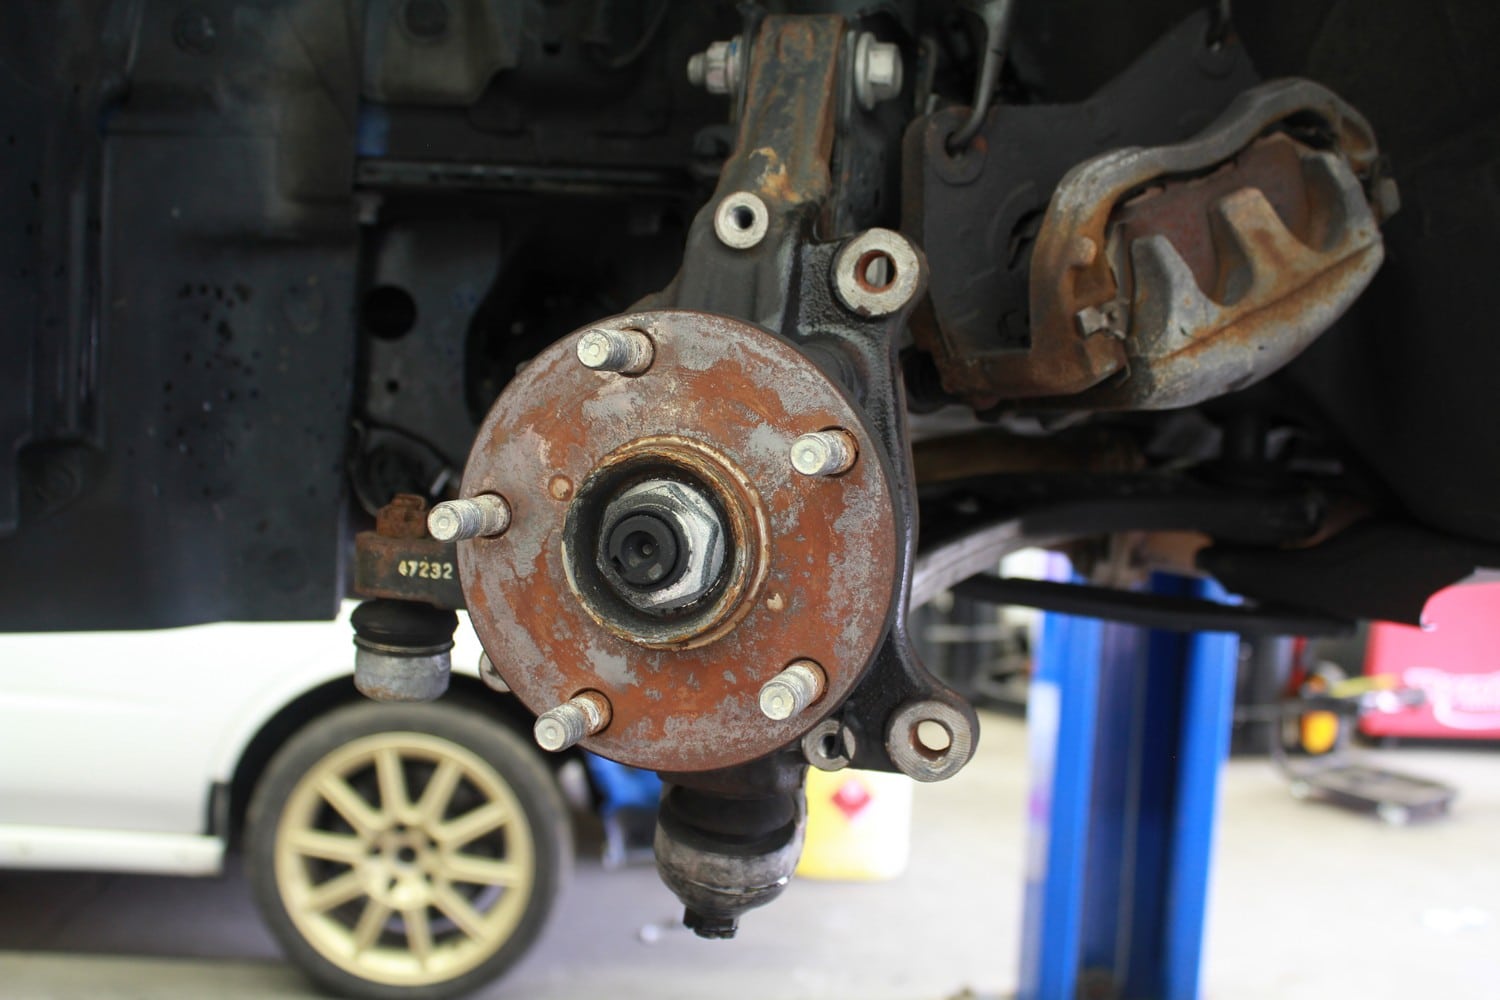
The last step in the removal process is undoing the factory rubber brake line. Before doing this I would recommend spraying the flare nut with penetrating fluid when you first remove the wheels and letting it sit. A flare nut wrench is strongly recommended for removal and if the nut doesn’t come loose at first use a little heat to help. Another little trick you can use is to take something like an extendable pole and use it to depress the brake pedal just slightly. By doing this you will close off the master cylinder from the reservoir and when you remove the brake line you will only lose the fluid that is in the lines and it won’t drain out the whole master cylinder reservoir.
In the next post we’ll go over all the parts that come with the kit, the differences in weight/size and other pertinent details. Stay tuned!
Thanks to these companies that are helping with this Project
COBB Tuning – COBB AccessPORT and COBB Cat-Back
Mad Graphics – Full Vehicle Vinyl Wrap and Side Graphics
Grimmspeed – License Plate Relocation Kit
Turn In Concepts – Shifter Bearing and TGV Deletes
Killer B Motorsports – J-Pipe
OnPoint Dyno – Dyno Tuning and Testing
Uni-Body Collision – Paint Work (Emblems, Lip, Trunk Spoiler)
StopTech – Front Big Brake Kit
